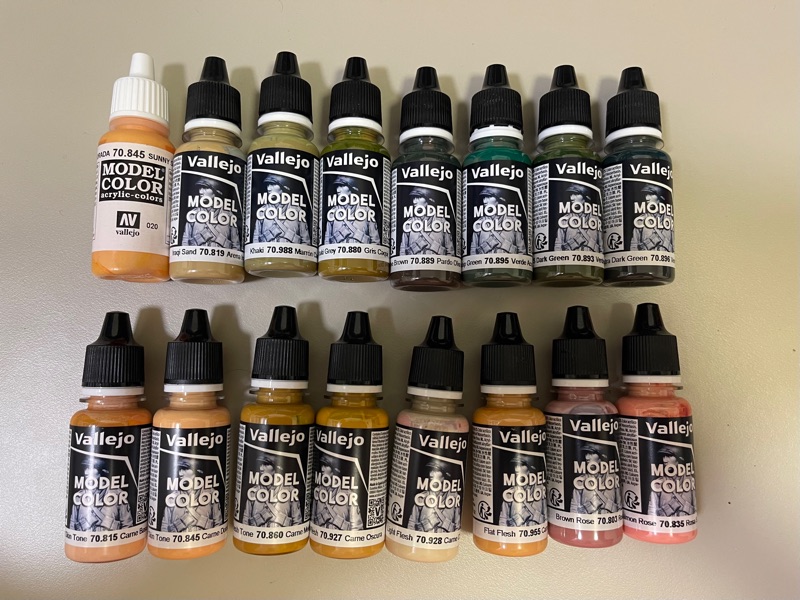
Almost 15 year hiatus from the hobby, move to a different state for work, and I pick up my paint brush for the first time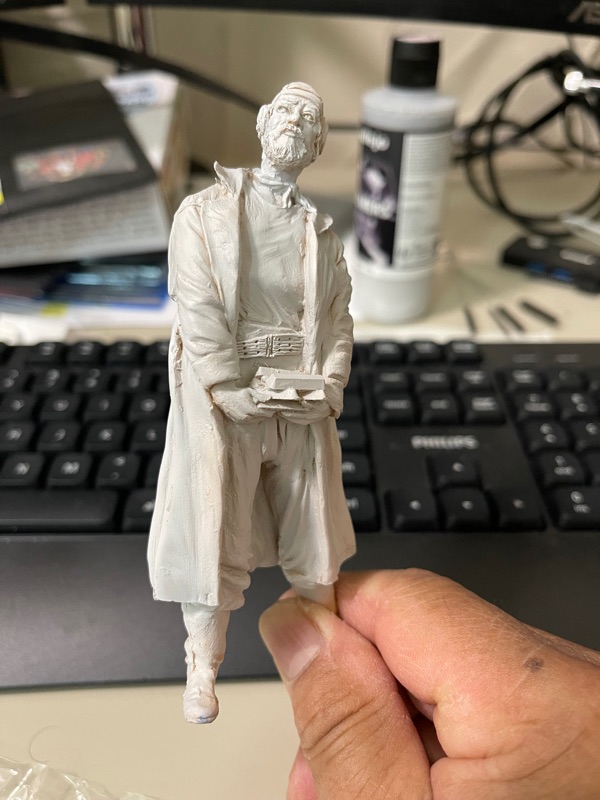
Thursday, October 9, 2025
10 year hiatus
Tuesday, November 24, 2015


Monday, December 16, 2013


Internet Auctions and Store
After restarting in the hobby and previously running a hobby business, I have so much stuff that its now time to do life's big cull.
So I started by opening an eBay account, that was bad news as its cost me more by enticing me to buy even more kits. So for 2014 the goal is to sell as much as I can, and minimize what I buy.
For the good stuff you will find on eBay
My eBay Account is:
,
http://members.ebay.com.au/ws/eBayISAPI.dll?ViewUserPage&userid=fabianthepanzerdude
To make it easier and reduce eBay costs I opened up a free Web store as well, this is where I'll upload the general run of the mill stuff.
http://
Tuesday, November 27, 2012
Danish M41 DK
Purchased Accurate Armour Conversion for the Danish M41DK
A comprehensive 1/35th scale resin conversion of the AFV CLub M41 Walker Bulldog kit into the Danish M41 DK1. This set designed by Jon Bottomley features new turret and engine decks, etched brass detail set, full colour decals, along with all smaller fittings required to produce an authentic replica of this well known European AFV.


A comprehensive 1/35th scale resin conversion of the AFV CLub M41 Walker Bulldog kit into the Danish M41 DK1. This set designed by Jon Bottomley features new turret and engine decks, etched brass detail set, full colour decals, along with all smaller fittings required to produce an authentic replica of this well known European AFV.
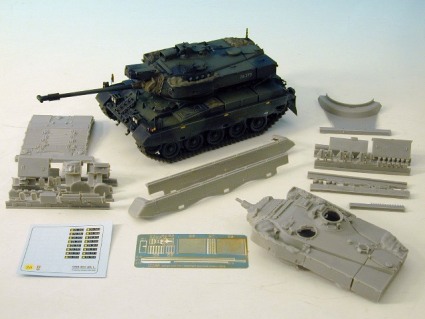
You can pay $90 USD on eBay or order direct from AA for the cost of about $57 AUD plus postage.
RNZAC M41A1 Bulldog


MODIFICATIONS
1. Fit stowage rails between the headlight guards.
2. Cut the mudguards (fenders) off at 45 degrees, both front and rear.
3. Add strengthening ribs to the read side stowage bins (both sides)
4. Add cable drum to turret side (ex Tamiya Centurion)
5. Add tow rope brackets to driver’s side
6. Move .50 cal mount to behind the gunner’s sight, on the outside edge of the turret and fit a second mount level with the rear of the commander’s hatch approx on the centre line of the turret.
7. Replace antenna bases with British style ones
8. Add auxiliary generator exhaust and silencer on right-hand exhaust cover.
MARKINGS:
Tac Sign: Red over Yellow with the number “2” in either white or black, on the right side of the glacis plate and rear transmission access plate.
National Sign: A Kiwi in black facing to the right (as observed) on the left side of the glacis plate and rear transmission access plate.
Vehicle Number: Prefixed with “NZ”, numbers ranged from 30540 to 30549 (yes we only had 10).
Unit Badge: Originally the badge of the Wellington East Coast Mounted Rifles, a horse rampant, top of the side of the turret level with the gunner’s sight, horse facing forward.
Later the badge of Queen Alexandra’s Mounted Rifles. N.B. with the change of badge the Tac Sign changed to “64”.
RNZAC M421A1 Walker Bulldog
Thursday, March 4, 2010
Warhammer 40K
In the December 2008 School holidays I took the boys into the city. They wanted to have a look at the 2 remaining specialist hobby stores in Sydney City, Tin Soldier & Hobbyco. On the way down the back of George St they came across Games Workshop. After more than an hour in there and each of them having a go at painting Space Marines, the boys had convinced themselves that they wanted to persue this hobby. I suggested that they think about it and we set off to Tin Soldier & Hobbyco. After many hours in both these stores, they were still talking about Warhammer and asked if could spot them the money for the starter box and they would fix me up when we got home. The long and the short of it they came out with a set Assault on Black Reach with all the paints & accessories to get them going (without them having to touch my gear.
Since then the boys have steadily built up their forces thanks to ebay. Unfortunately, the eldest had to be Imperial Guard, and the other 3 boy all differing Space Marine Chapters.
I opened the Black Reach box and found a whole mess of Orks. Unfortunately no body's interested in playing on the Ork side, and so I started my personal journey in Warhammer 40K, deciding to practice my painting skills on these figures before I relaunch my self on the 100's off different WWII figure sets in my collection.
As the boys now have some fast attack bikes, landspeeders, I bought a few built Ork Warbuggy's on Ebay and decide to refurbish them. The original paint jobs were dreadful, and they were built dreadfully. I broke apart the glue on figures (doing some major damage to leg & limb, but managed to to a reasonable rebuild. I will post the many vehicles & figures to this setion as I go.
Ork Warbuggy


Subscribe to:
Comments (Atom)